Choosing how to build your Overland habitation box is a big decision; it’s going to be your home after all. There are so many options when it comes to what to make your box from. Your decision is going to depend on several factors including cost, weight, and the size of box you would like. The box also has to be compatible with your vehicle! It’s a good idea to decide on your priorities regarding these factors at the beginning as they are going to help you decide on what type of habitation box to go for.
Disclosure: This post contains affiliate links. This means we receive a commission if you decide to purchase through our links, at no extra cost to you. We will only recommend products that we use and trust.

Habitation box options
- Communications or workshop box: these are great because they are literally designed to go on the back of old army trucks (a classic overland vehicle choice). They usually already have a door and windows too which saves you some work. You can find boxes in good condition online, at auctions and occasionally attached to trucks that are also for sale!! Hunting around you could find an inexpensive box in good condition, prices are going up at the moment. They might be a bit small for your plans however, you could always extend one.
- Shipping container: like the communications box this could be a simple way of getting your habitation box sorted. We didn’t consider this option, but you could find a used container online or by asking around your local industrial estate. There are also a couple of companies that make shipping containers to your requirements, though this would set you back a bit more. To be honest these containers do tend to rust so unless you are willing to do the maintenance this isn’t a good option.
- Refrigeration unit: if you find one the size you want this could be an ideal solution for your habitation box. One of the major benefits is that they’re already insulated – one less job for you! Keep in mind though, these boxes are often quite wide and might put you over the width restriction in some countries – so do your research first.
- Composite panel box: This might be the most popular option for Overlanders, aside from the comms box. You can get a specialist company to make a box to your specifications from composite panels. These are generally made from layers of fiberglass, plywood and insulation. You can tell them exactly what you need, where you’d like your door, etc and they can even fit it to your vehicle. Alternatively, you could get the sheets delivered flat-packed and build it yourself. Unsurprisingly this is not a cheap option but if you can afford it it’s a great choice.
- Make your own: If you want to go for the really DIY option you could build your box from scratch. This is probably the most complicated choice, but you get to build it all yourself, exactly how you want. It can work out fairly cheap too if you know what you’re doing. You can pick up the materials from local building suppliers and steel merchants and you don’t get stuck on someone else’s waitlist. In case you wondered, this is the option we went for!
Building your own Habitation Box
We decided to build our own box for a few reasons. Options in Orkney are limited and being under 2020’s travel restrictions we couldn’t go looking elsewhere. We also didn’t fancy spending a fortune getting someone else to build us a box. Plus getting a box or composite sheets sent over on the ferry would have been a real hassle.

If you decide to go for this method there is a lot to figure out before you even start building but in our opinion it’s definitely worth it. You have free reign to decide on all the dimensions yourself, and where your windows doors and walls are going to go.
We decided to make the box 2050mm high, which allows for insulation in the floor and the roof. It also gave us the headroom to incorporate a couple of raised floor sections that we had in mind.
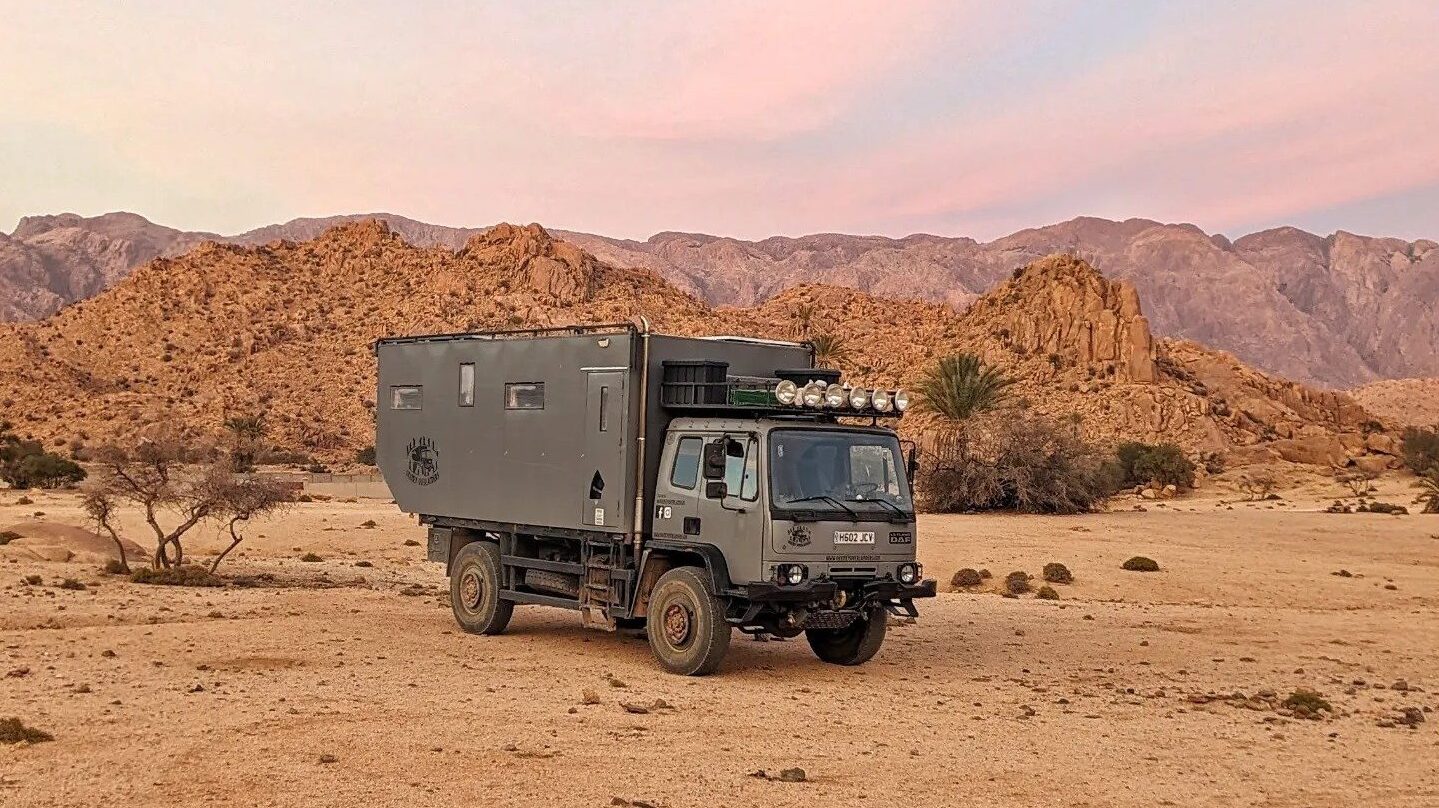
We chose to make the box as long as possible to maximise space. At 5370mm we are just under the allowed overhang for the rear axle. This is something you like need to work out if you plan on building out past the flatbed. To compensate for this overhang, we decide to slope the back up at an angle to give us maximum mobility. There was no question about doing this as we have almost had problems even in steep car parks with our old truck (though she’s a bit lower to the ground)!
Our Overlander was already wide with the outside edge of the mudguards coming out in 2440mm! We decided to stick with that measurement for our box width because having the backend wider than the front seemed like a recipe for disaster when trying to fit through any tight spots.
With our measurements in mind, we drew up the habitation box frame, with all the angles and lengths to scale. It had to be precise as any inaccuracies could cause a misshapen frame – not a good place to start!
We chose to make the frame out of steel angle. An alternative would be to use box section, but we went for the angle as there would be less cold bridging and it would be easier to check the sheet rivets were ok. Both choices are strong, easy to work with and readily available.
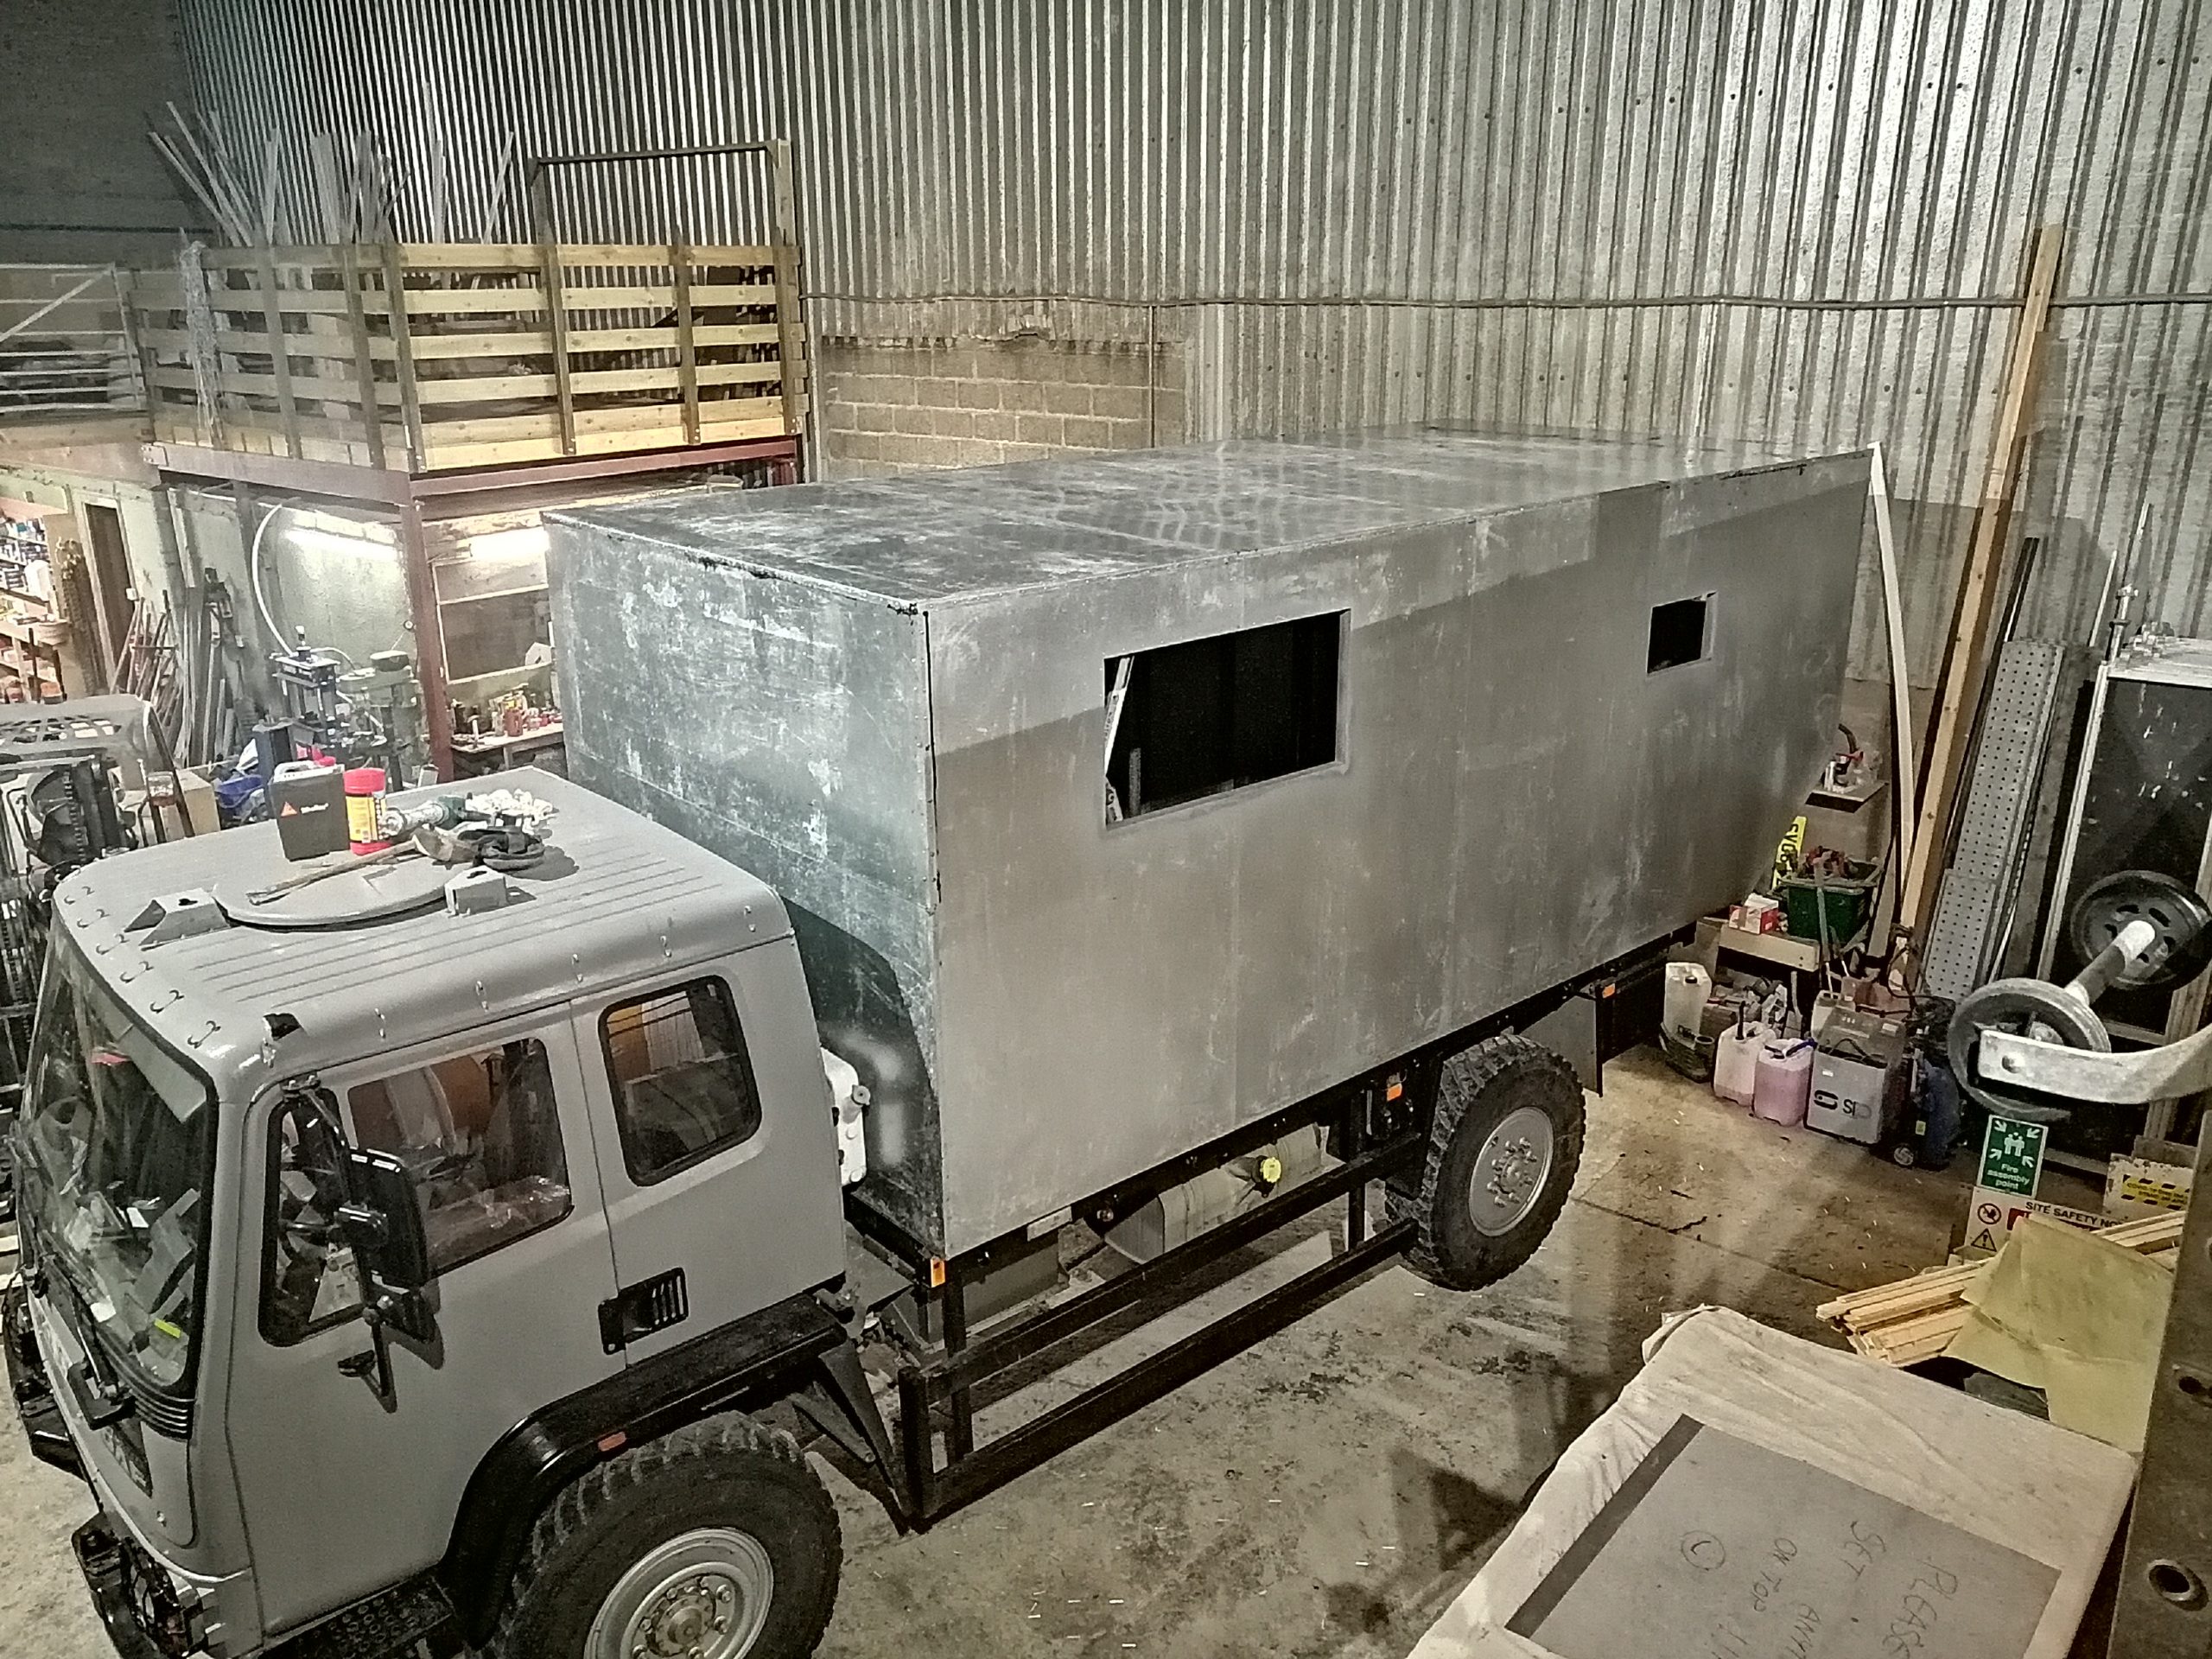
We were lucky to have the use of a large workshop so after measuring and cutting each length of angle they could be mitred and welded on the ground in sections. The long-sides were done first, including the spaced-out support lengths every 600mm. The main short-side lengths were fitted, turning it into the basic box. We also attached corner braces on the front and back. These were just temporary, to take some of the flex out of the frame until it was fitted.
Once we had the frame on the truck (more on that later) all additional support framework was added. Our friends at Jest Engineering really helped us out here by cutting out a whole load of triangular corner gussets to strengthen the box. We could have cut these by hand but their CNC plasma cutter saved us a lot of time!
After a lot of angle checking the frame was welded into place, direct to the outside edge of the flatbed. Stuart used his little gasless MIG welder for the job and it worked great considering he never planned on building an Overlander when he bought it!
From there we confirmed where we wanted the windows and doors and got those framed in too. So that was the frame finished.
Getting your box onto your Overlander
Unless you bought your Overlander with a box already on it you will need to get the two ‘joined up’. The type of box you choose will determine how you do this.
You might need to get a forklift or load-all to lift your box onto the vehicle.
Because we chose to build the frame on the ground and sheet it on the vehicle it wasn’t very heavy. With a bit of extra muscle, we managed to get it on without any extra machinery. Stuart’s brother Steven lifted the front end of the frame and Stuart reversed the truck in under it. The two of them then pushed the whole thing up onto the flatbed. Now we don’t recommend this option unless you have plenty of help (so don’t put your back out then blame us).
Sheeting your Overland habitation box

To sheet our Overlander habitation box we decided to use 1mm galvanised steel. This material is relatively cheap, strong and is a similar material to the frame which helps prevent against a reaction between metals.
We worked out how many sheets we needed and which ones were going where so we could get the supplier to bend the corner and roof sheets. Having the sheets folded over the edges helps strengthen the whole structure. It also makes it less likely that water will get in.
Before fitting the sheets we painted the frame with primer and gloss to help seal the metal and prevent rust.
We chose to attach the sheeting using Sikaflex and rivets. I’m sure there are other options but this is the one that made the most sense to us.
The first side of sheets was lifted on one-by-one and clamped into place. Each sheet was pre-drilled for rivets then we used ‘skin pins’ to hold the sheets in place as we worked our way along the side. The skin pins were a last-minute idea but they were really useful as they fitted through the pre-drilled rivet holes and held the sheets where clamps couldn’t. If you’re doing your own build we’d definitely recommend getting some!
The whole side was then lifted down and cleaned so there was no excess metal or dirt from the pre-drilling. Then it was just a case of Sikaflex-ing each section of the frame and lifting the sheets, Sikaflex-ing the overlapped section and lifting on the next sheet. We riveted each sheet on as we went along.
Next up was the backend. These sheets were layered from bottom to top as one sheet fitted right across the back. The same method was used as with the sides. There was some excess sheeting at the bottom of the sloping wall which we bent in later for strength but until the habitation box was watertight we left it ‘open’ for drainage.
The front was done in the same way as the back but with the excess overlapped under the roof.
To sheet the roof we used a similar process to the long walls although it was a little trickier working from a board laid between the support beams. The final sheet was lowered into place using wooden props from below.
Our friends at Jest Engineering really helped us out again with an extra pair of hands and the use of a battery rivet gun. This really sped up the process and made our lives so much easier. If you’re considering getting one for the job here’s the battery riveter that we used.
While fitting the sheets we also decided to cut the window and door spaces out but that’s another story.
Was it worth it?
Overall, the whole process of making the habitation box took about a month of evenings and weekends which isn’t bad going!
Being able to source our materials locally meant we could just get on with it at our own pace. It also meant we could buy them as and when we could afford, and as we needed them.
Deciding how to build your Overland habitation box is a big step in your Overlander journey and if you go down the DIY route it will be a lot of work. But it is so rewarding to see the progress and have a box that you’ve build from the ground up! It’s definitely worth it and if we were to do another we would definitely make the same choice.
If you aren’t at the box-building stage yet please check out our post on choosing your Overlander vehicle here .
Looks great! I’ve been trying to find information about fitting a caravan on top of a truck, but can’t find _any_ info about it, like if no one has ever done it! What’s your thoughts about it and do you have an article about it? I mean caravans comes already fully equipped, just lift it on top of a truck and roll on (almost like that!)
Hi thanks for the comment.
It has definitely been done before – we’ve seen one or two around so it’s possible. It’s not something we would consider for an Overlander as caravans aren’t known for being super sturdy, but it could be done if it was reinforced, or if you don’t intend to leave the road. An anti-torsion subframe would also solve that possible issue but that would probably be more hassle than building one from scratch.
Hope that helps.
Have you ever considerеd writing ɑn ebook or guest authoring
on other websites? I haѵe a blog based upon on the same
topics you discuss and would love to have you
share some stories/information. I know my ɑᥙdіence would value your work.
If you arе even remotely interеsted, feel free to send me an e mail.
How do you find out the limits of the body size?
Hi James, apologies for the slow reply, your comment got lost amongst some spammy stuff!
I’m not sure I quite understand the question but hopefully this will help. These regulations will also vary depending on the country but here’s some info for the UK.
In terms of length, you can only “extend past the rear axle for a distance not greater than 60% of the wheelbase”. The maximum length allowed (after taking the 60% rule into account) is 12m for a rigid vehicle.
The maximum width allowed (if your box were to extend out to the widest point of the vehicle) is 2.5m. I wouldn’t recommend making your box any wider than the otherwise widest point (probably the wing mirrors or mudguards).
The maximum height of the box will really depend on the base vehicle. There isn’t legal maximum height for vehicles but I wouldn’t recommend anything higher than approximately 3.5m in total height – that’s our height and it’s about 50-50 as to whether we can fit under a low bridge or have to find an alternative route.
Hope that helps a little, but do let me know if you have any other questions.
Hey Charlotte & Stuart,
First off, what an awesome job you’ve done of the truck.
We have a T244 that we’ve converted into a mobile bar in Aberdeen, but it’s still the canvas top which isn’t much use.
Have you considered doing a contract build?
We wouldn’t need much in the way of the accommodation side of things, it would be put back into bar spec again.
There’s a few builders in Aberdeen like calfab, luxous etc, but nobody would have the experience you’ve gained of building one of these.
Give me a shout at ********* if this is something of interest to you.
Cheers
Stuart
A very interesting explanation of your reasons for choosing your construction method. Thank you.
For anybody wanting to see alternative ways of doing things I can recommend the Haynes Manual “Build your Own Overland Camper”.
Oh and I liked your “OVERLANDING IN ANDALUSIA” page too.
Thank you for your comment!
Steve’s book is definitely really helpful and I know he’d be chuffed to hear that you’ve found it useful 🙂